...
Download and install the VMware Horizon Client on your personal computer (the install file is usually located in the download folder)


Reboot your computer

Open the Horizon Client, click the “New Server” button, and enter: Desktop.pccc.edu


Set the Domain to: STUDENTS
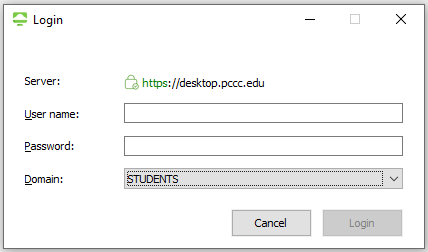
Login with your PCCC user name and password
Right-click on the Desktop Pool icon, and ensure PCoIP is selected

Double-click the icon to launch your VDI desktop
- If PCoIP does not work please select VMware Blast and try again
Mac Instructions
- Download the Horizon Client for Mac
- Double click on the VMware Horizon Client.dmg file to begin the install

- Click “Agree” in the user license agreement window that appears.

- When the VMWare Horizon Client window appears, drag the “VMWare Horizon Client icon to the Applications folder.

- The first time you launch the VMWare Horizon Client, you may see a security popup asking if you want to open the file. Click the “Open” button.

- When you open up VMware Horizon Client click “New Server” or “+”

- Type in Desktop.pccc.edu and click “Connect”.
- Make sure the Domain is set to “STUDENTS” and enter your Username and Password.
- Select VMware Horizon Client > Preferences from the menu bar and click PCoIP
- If PCoIP does not work please select VMware Blast and try again
PCCC Technology Support
| Include Page | ||||
|---|---|---|---|---|
|
...